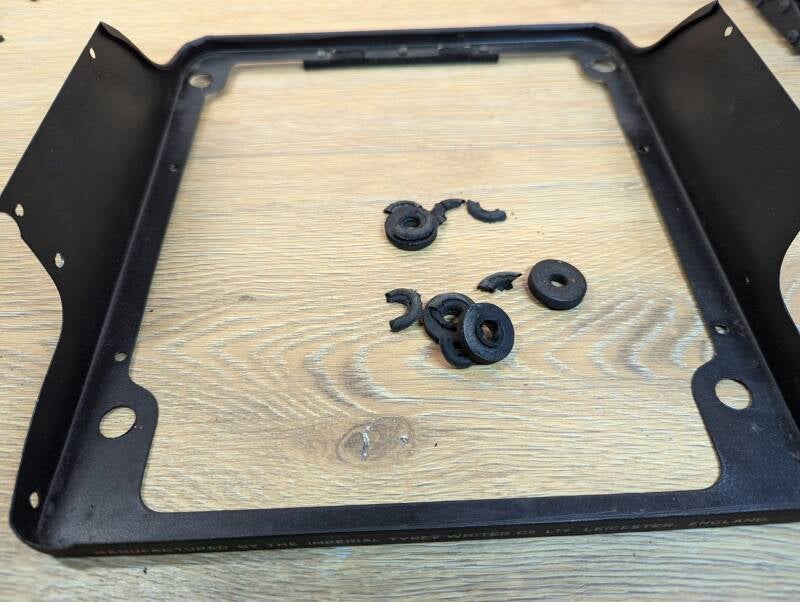
Imperial Good Companion Typewriter Feet
This set consists of:
-4 press-fit typewriter feet
These feet fit the Imperial Good Companion from the 1930s till the '50s. These feet are specific to the machines that are fitted to the case with screws through the feet. The 'nut' that holds the machine to the base fits snugly in the feet and will not fall out on it's own.
The feet will also fit the models that are held to the base by two thumbscrews on the side of the machine, but I have sligltly different/better looking feet available for those
Please note: I sell only the rubber parts. Any existing mounting hardware should be used again.
Installation guide
Installation of the feet on the Imperial Good Companion can be a bit scary for less experienced typewriter users. The body shell needs to be taken off the machine to install the nuts that hold the machine to the base on the rear feet. The internals of the machine are in the way when you try to install them without taking the shell off first.
Taking the body off is quite easy if you have done it before, or if you know what to look for. But here is a step by step guide if you're not sure how to remove and reinstall the body.
1. Removing the body
7.
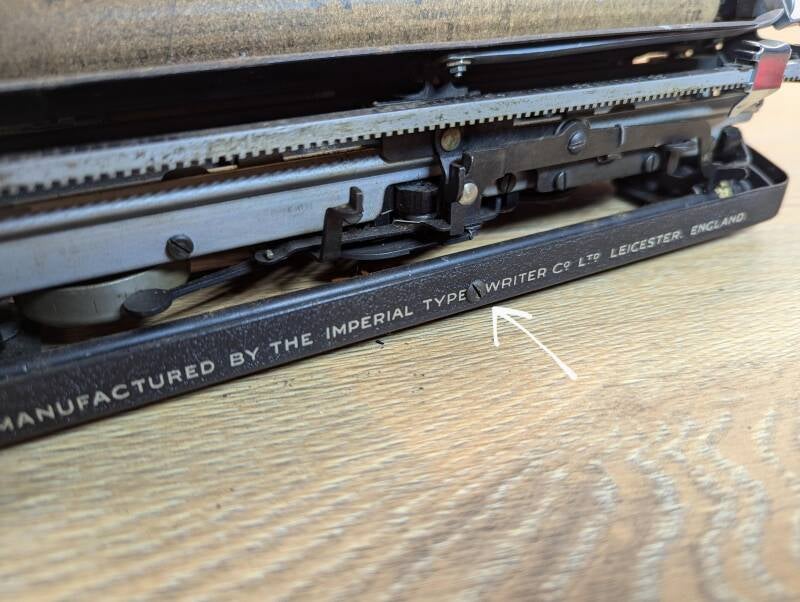
Remove the screw on the back of the machine. The machine is now completely separated from the body.
8.
Lift the machine out of the body, but be sure to not lose the spacer that sits between the removed screw from step 7, and the frame rail of the machine.
2. Removing the old feet.
1.
Remove the 4 nuts that are used to hold the machine to the base. This can be done by prying them out with a flat-bladed screwdriver.
2.
Remove the old feet by braking them off. I found that with hard feet, it may be easier to pry the top of the feet loose before grabbing the bottom and twisting them out. This may not be needed when the feet are softer.
3. Installing the new feet.
2.
Take a foot, and push it in the the hole, while making sure that one side of the foot goes completely though the hole.
4.
Repeat step 4 on different sides of the foot until it snaps completely through and sits flush with the body.
4. Reassembling the machine.
5.
Install the top lid and secure the left side with the 2 screws. Make sure to not forget to add the bracket on as well. I found that it is easiest to start with the screw that is closest to the carriage/rear of the machine.


